Introduction
Campaigns enable developers to build fully custom external checkout experiences using HTML and JavaScript — no backend server-side integration required. Each campaign is backed by a headless, CORS-enabled API that handles products, pricing, payments, and order creation.
You can create multiple campaigns for different product offers, markets, and A/B testing, each with its own set of packages, offers, and shipping options.
Core Concepts
Campaigns
A campaign is the top-level configuration that ties together everything needed for an external checkout flow:
- Packages — what products are being sold, at what quantities and prices
- Offers — discounts that apply automatically or via voucher codes
- Shipping Options — available shipping methods and prices
- Payment Methods — which payment methods customers can use
- Currency & Language — localization settings for the checkout
Each campaign has a unique API Key used to authenticate all API requests. Campaigns are created and managed in the Next Commerce dashboard via the Campaigns App.
Domains
Domains are configured in your store's global Campaign Settings and apply across all campaigns for that store. They control which domains are authorized to use your campaign API keys.
There are two domain types:
| Type | SDK Access | Analytics Tracking |
|---|---|---|
| Production | Yes | Yes — analytics events are automatically tracked |
| Development | Yes | No — analytics events are suppressed |
Production domains are your live, customer-facing domains. When the SDK runs on a production domain, all configured analytics providers automatically track events (page views, add to cart, purchases, etc.).
Development domains are for local development and staging environments (e.g., localhost, staging.example.com). The SDK is fully functional on development domains — cart, checkout, and payment flows all work — but analytics events are suppressed to keep your production data clean.
Add localhost and any staging domains as development domains so you can test the full checkout flow without polluting analytics data.
API requests from domains not listed in either production or development will be rejected. Make sure all environments where the SDK runs have their domain added in your store's campaign settings.
Available Payment Methods
Campaign responses include available_payment_methods and available_express_payment_methods, which you can use to render only the payment buttons supported by the campaign's gateway group, market, and configured payment methods.
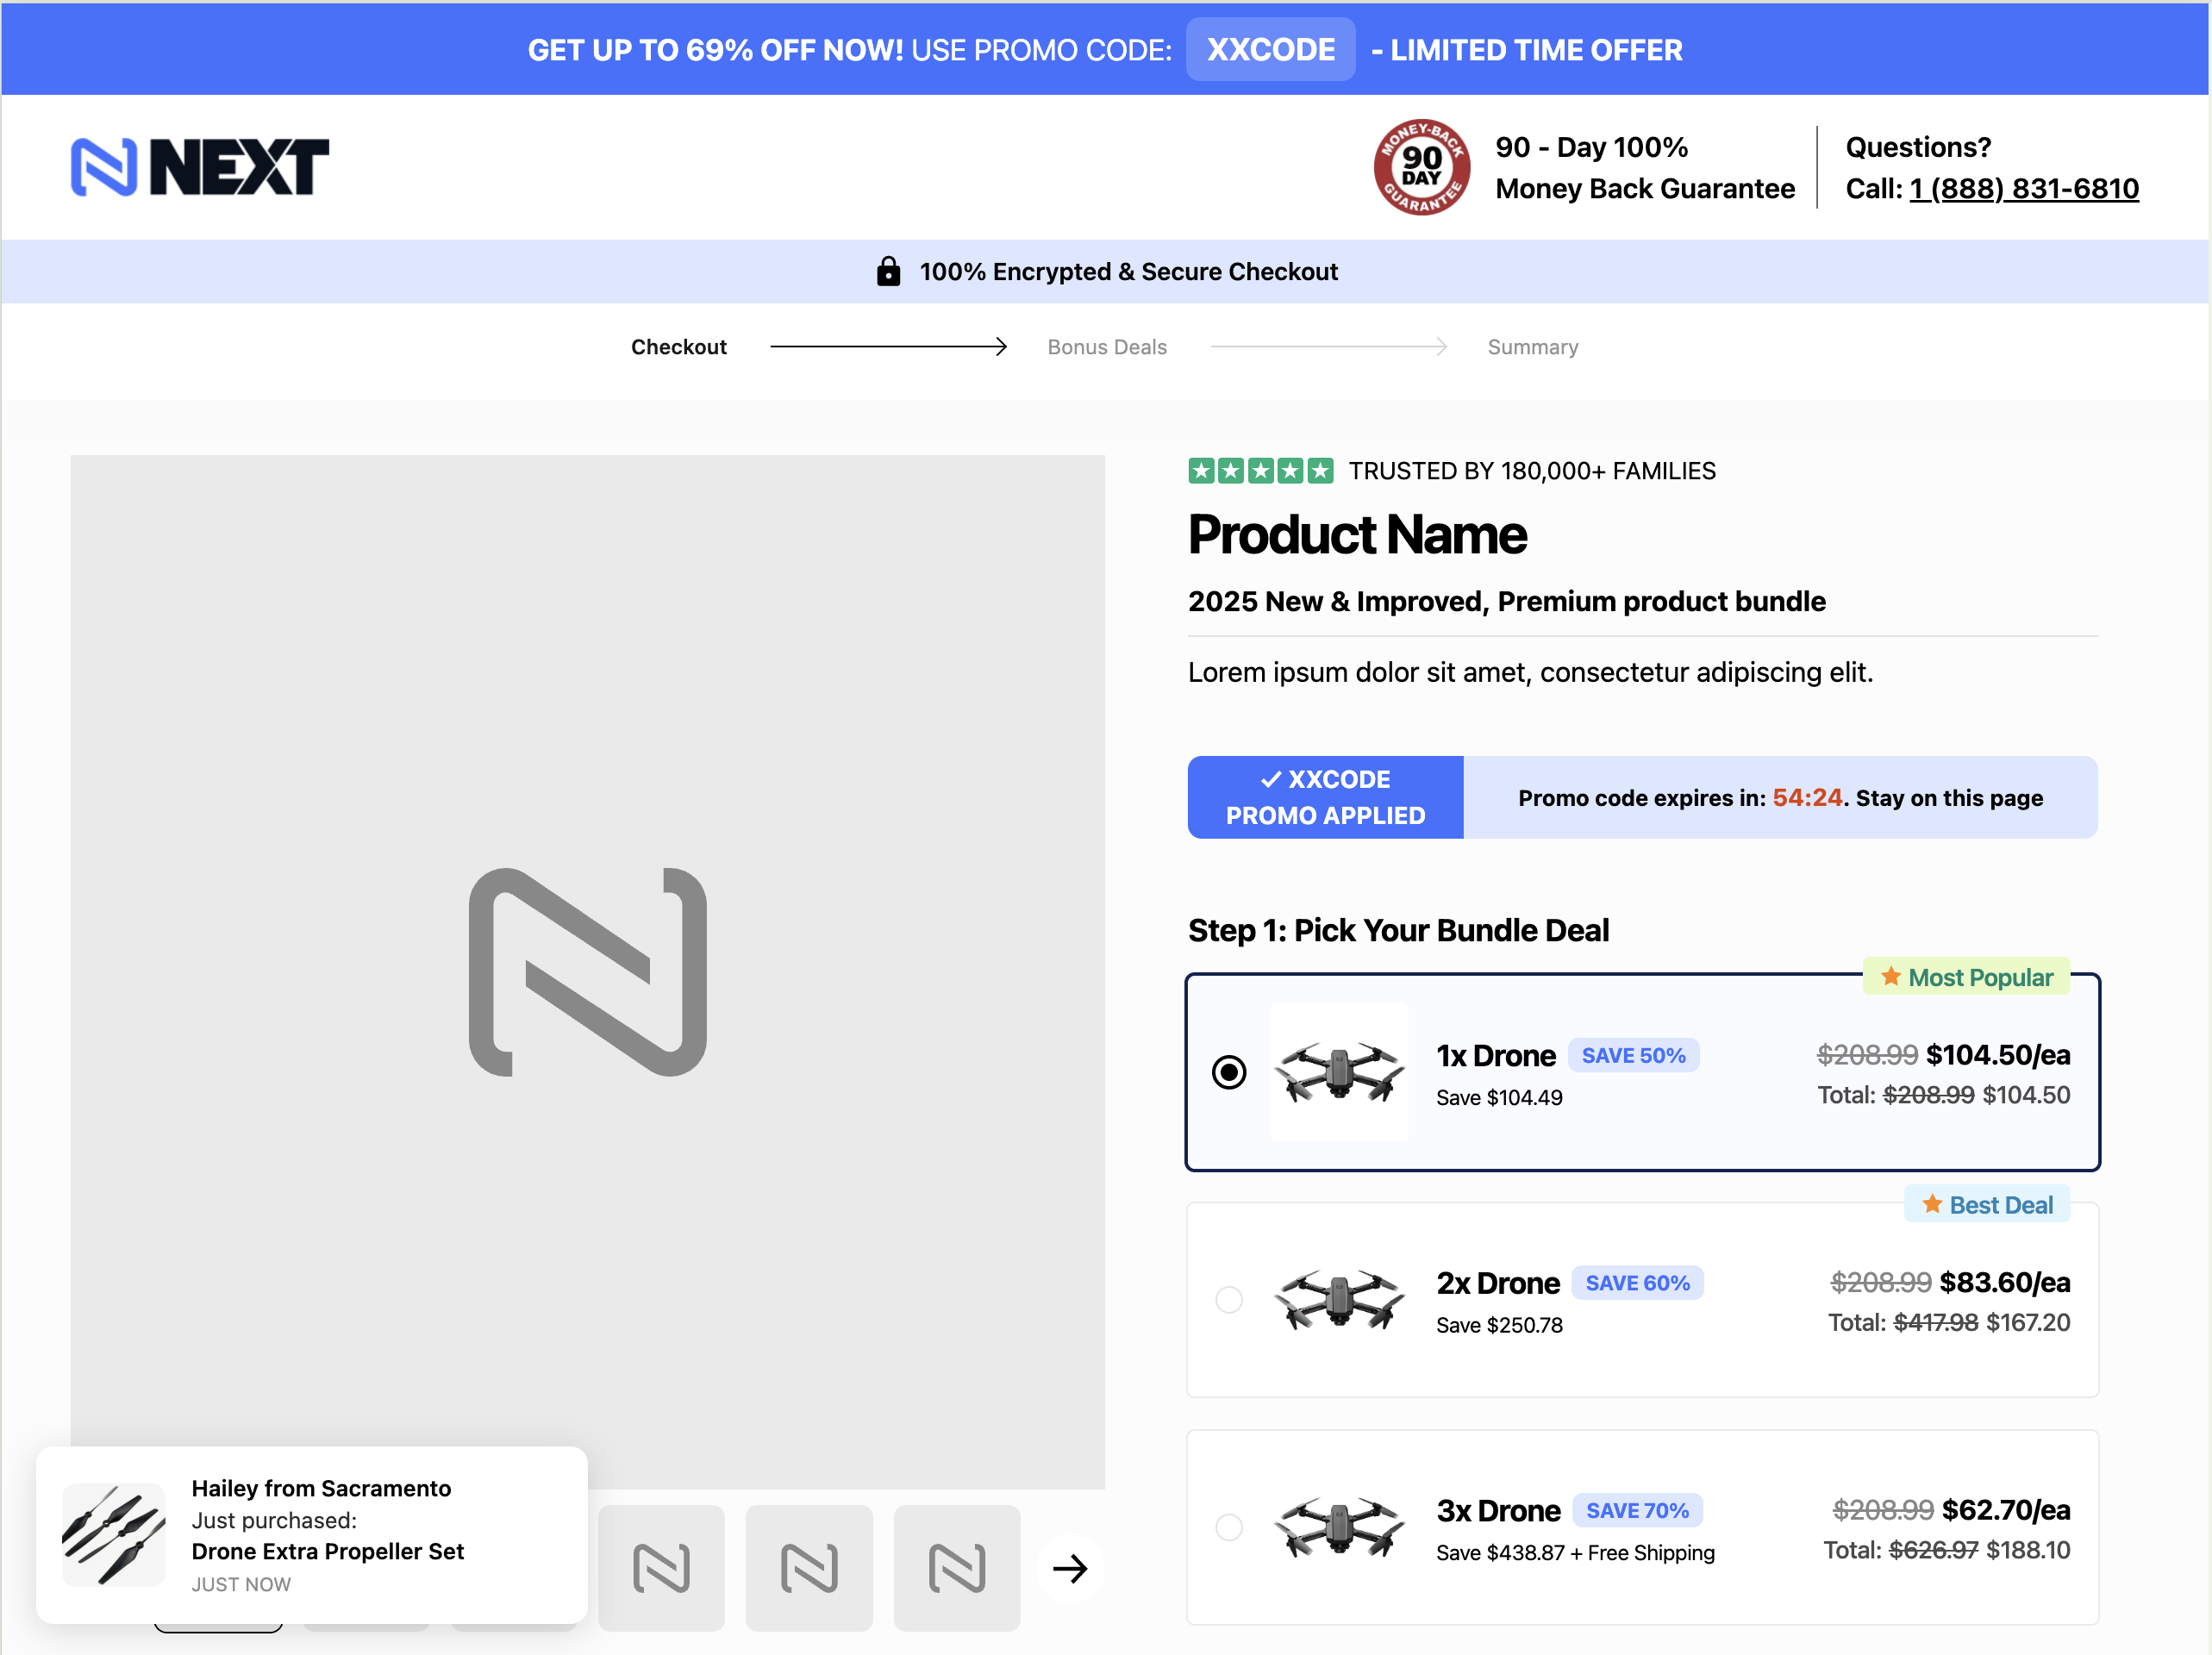
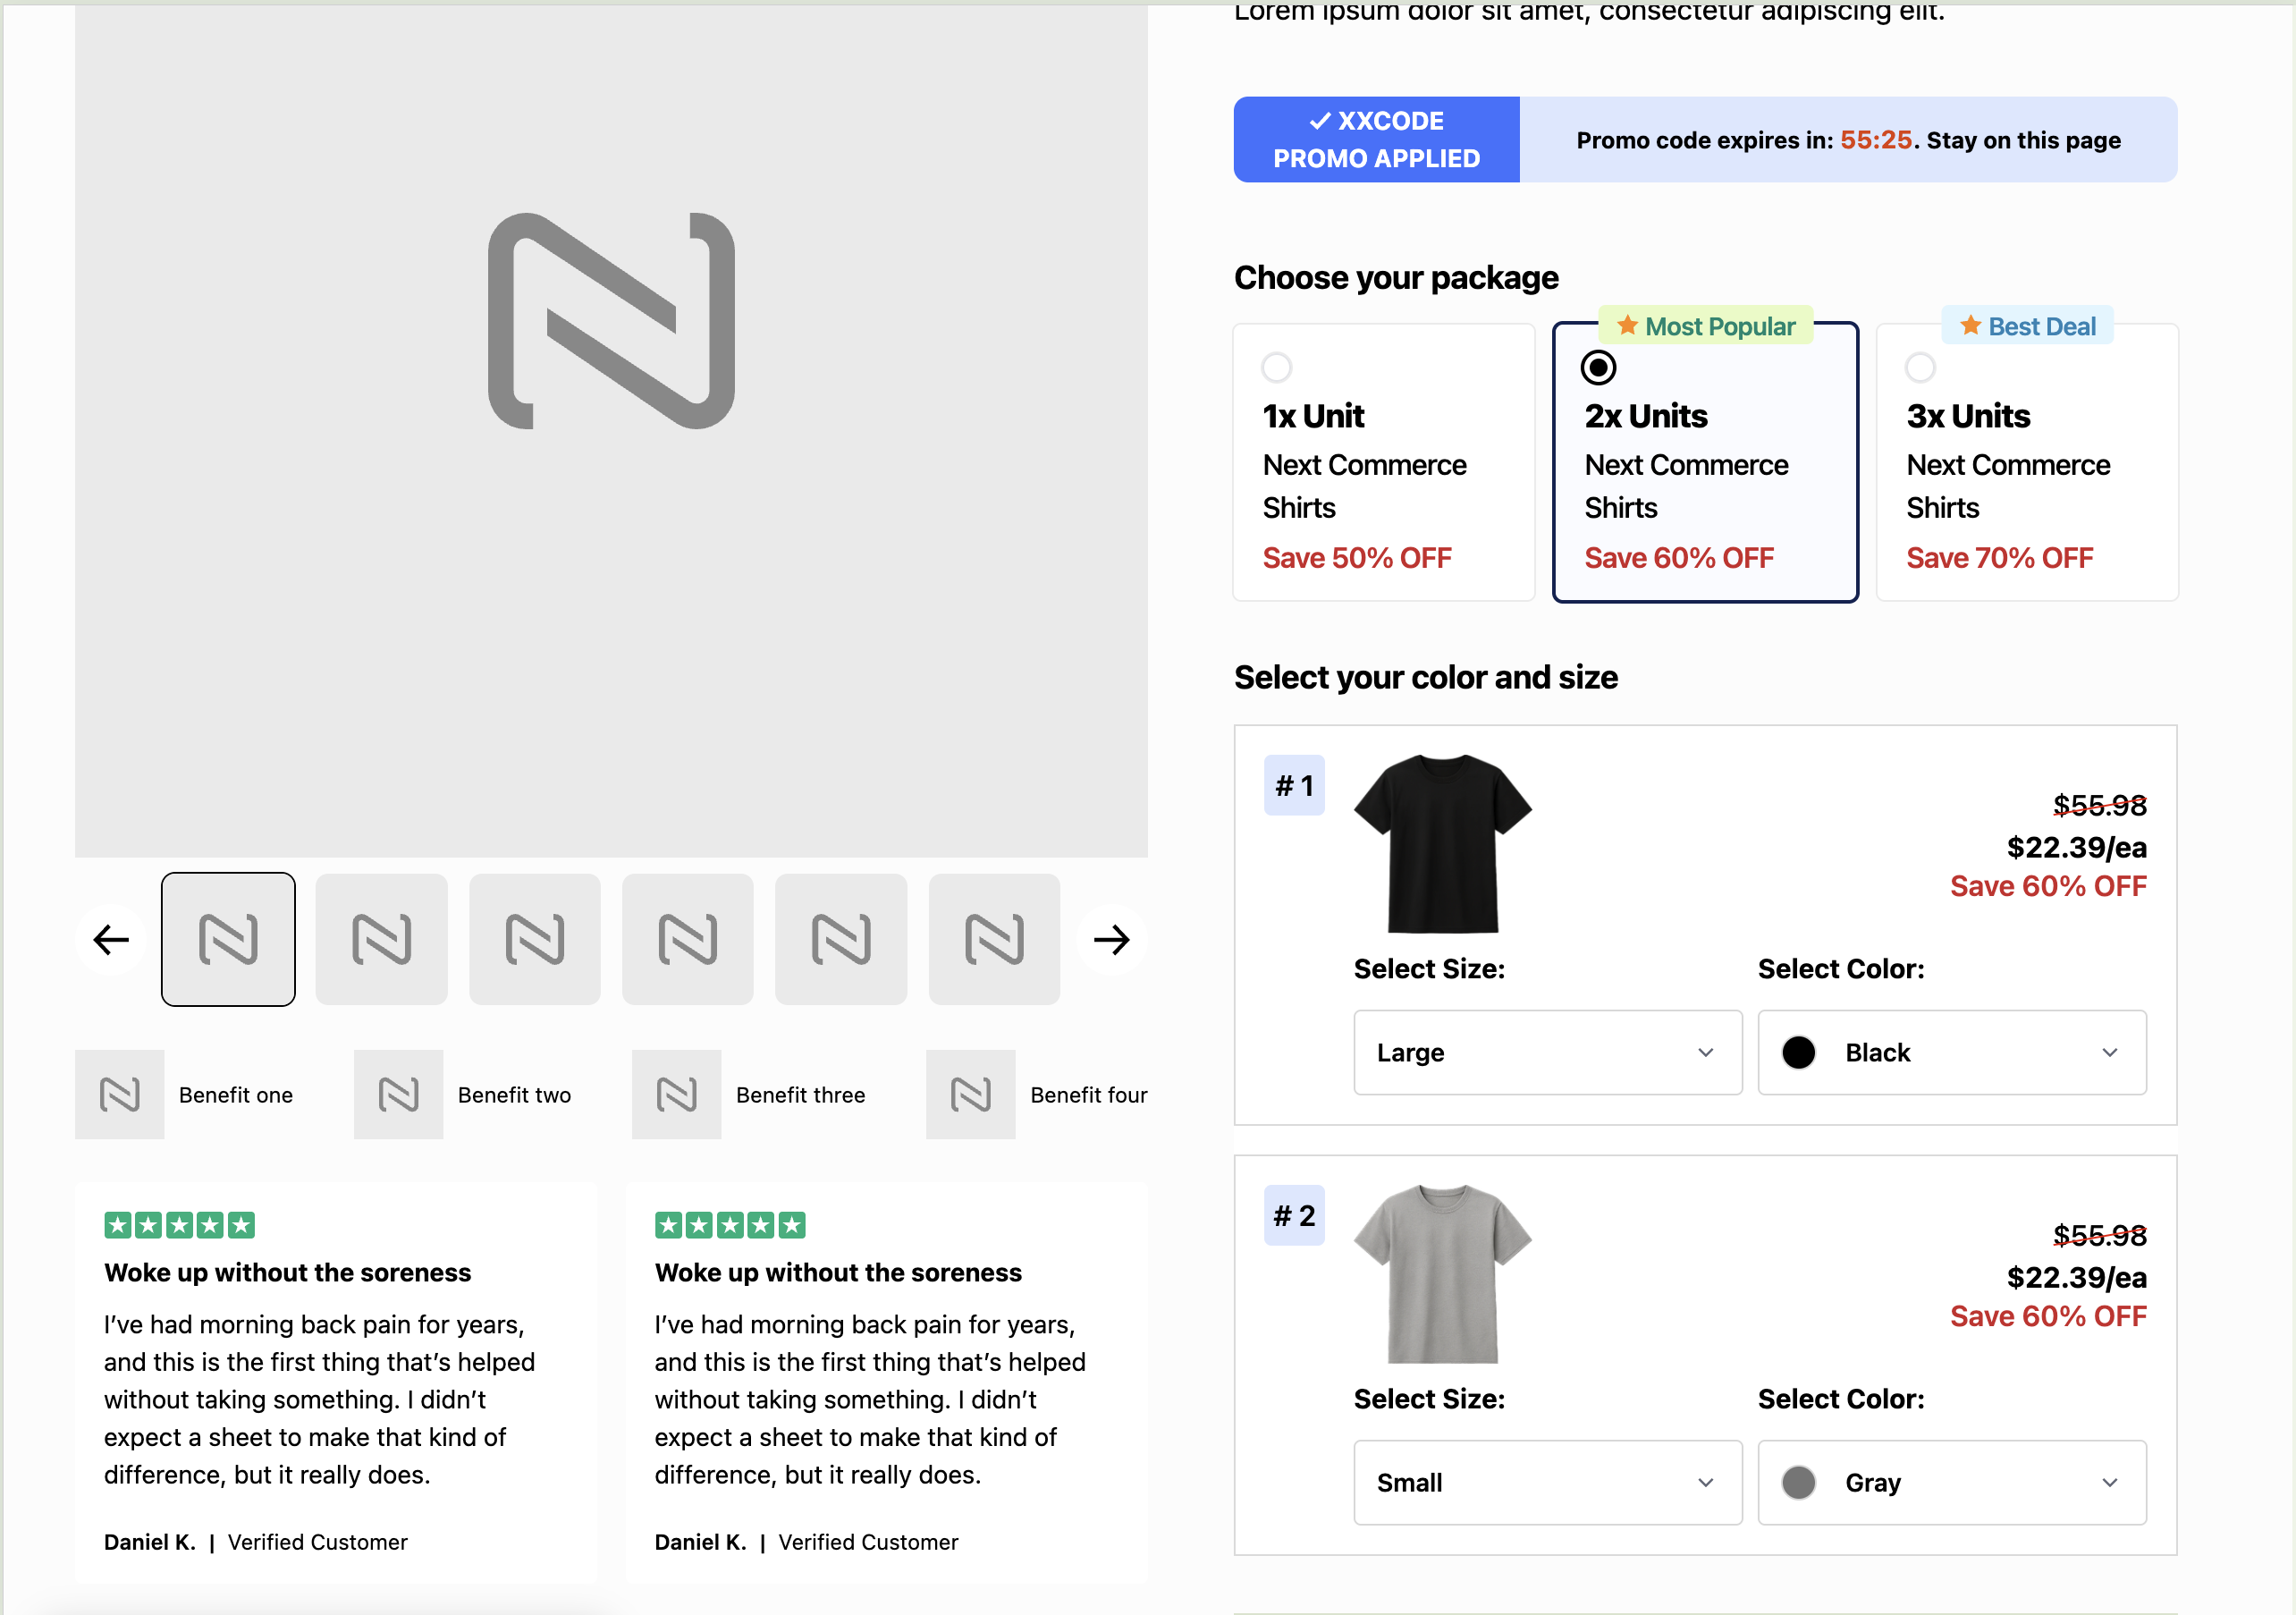
Packages
A package is a virtual link to a product variant (SKU) in your store catalog with a custom quantity and custom pricing. Packages are what customers actually purchase in a campaign — they let you create different purchasing options for the same product without changing the product itself.
In SDK 0.4.x, the recommended pattern is one package with a base price, using Campaign Offers to define quantity-tier discounts automatically. For example:
- 1x Widget — 1 unit at base price
- 2x Widget — 2 units, 20% off via Campaign Offer
- 3x Widget — 3 units, 35% off via Campaign Offer
Packages can also be configured as recurring for subscription products, with a custom interval (e.g. every 30 days).
Offers
Offers control pricing discounts based on how many packages a customer adds to their order. Packages in an order can be any mix of variants — for example, 1 white and 1 black of the same product both count toward the offer condition.
There are two types of offers:
- Offer — automatically applies when the order meets the condition
- Code — only applies when the code is applied to the order
Offers can also be stacked — for example, an automatic quantity discount and a voucher code can both apply to the same order. When offers apply, the API returns adjusted before/after pricing so you can display savings to the customer.
Typical Campaign Flow
A campaign funnel guides customers through a series of pages, each backed by the Campaigns API:
- Landing — Marketing page that drives traffic to the campaign
- Checkout — Customer selects package, enters shipping, billing, and payment details
- Upsells — Post-purchase offers to increase order value
- Receipt — Order confirmation with details
This is a simplified example of a campaign flow. You can customize the flow to meet your specific needs.
Integration Options
There are two ways to build your campaign frontend:
| Approach | Best For | Description |
|---|---|---|
| Campaign Cart SDK | Full control | A headless SDK driven by data-next-* HTML attributes. Build cart, checkout, and upsell flows without writing custom cart logic. |
| Campaigns API | Custom integrations | A headless REST API for developers who want complete control over the checkout experience with custom JavaScript. |
Starter Templates
The fastest way to get started is with the Campaign Cart Starter Templates — a collection of ready-to-use campaign templates (checkout, upsell, receipt) built on next-campaign-page-kit, the official build tool for Campaign Cart projects.
Quick Start
Option 1: Use Starter Templates (Recommended)
The starter templates use next-campaign-page-kit — a build tool that handles Liquid templating, per-campaign asset isolation, a dev server, and CLI scripts.
git clone https://github.com/NextCommerceCo/campaign-cart-starter-templates.git
cd campaign-cart-starter-templates
npm install
npm run dev
Select a campaign from the interactive prompt. Available templates include single-step checkouts (demeter, limos, olympus), multi-variant flows, and shop-style variants.
Option 2: Manual Setup
For standalone HTML pages without the campaign-page-kit build tool:
-
Get Your API Key
Go to Next Commerce Dashboard, open the Campaigns App, select your campaign, click on Integration, and copy your API key.
-
Add SDK Script
Add these two lines to your HTML
<head>section:<!-- Campaign Cart Configuration --> <script src="js/config.js"></script> <!-- Campaign Cart SDK — pin to a specific version from GitHub releases --> <script src="https://cdn.jsdelivr.net/gh/NextCommerceCo/campaign-cart@v0.4.18/dist/loader.js" type="module"></script>SDK Version
Always pin to a specific version (e.g.
@v0.4.18). Check GitHub releases for the latest stable version. Using@latestin production can cause unexpected behaviour when the SDK updates. -
Configure the SDK
Set
window.nextConfigbefore the SDK loads. See Configuration for the full reference.window.nextConfig = { apiKey: "your-api-key-here", }; -
Start Building
You can now use Campaign Cart attributes in your HTML.
HTML Page Setup
<!DOCTYPE html>
<html>
<head>
  <!-- 1. SDK configuration — must load before the SDK -->
  <script src="js/config.js"></script>

  <!-- 2. Page type and flow meta tags -->
  <!-- Page Type: product, checkout, upsell, or receipt -->
  <meta name="next-page-type" content="checkout">

  <!-- Redirect after order completion (checkout pages) -->
  <meta name="next-success-url" content="/upsell">

  <!-- 3. Campaign Cart SDK -->
  <script src="https://cdn.jsdelivr.net/gh/NextCommerceCo/campaign-cart@v0.4.18/dist/loader.js" type="module"></script>
</head>
<body>
  <!-- Your content here -->
</body>
</html>
Quick Examples
Bundle Selector (0.4.x — recommended)
Uses one package with Campaign Offers driving tier pricing automatically:
<div data-next-bundle-selector data-next-selector-id="main" data-next-selection-mode="swap">
  <div data-next-bundle-card data-next-bundle-id="buy1"
       data-next-bundle-items='[{"packageId":1,"quantity":1}]'
       data-next-selected="true">
    1x — <span data-next-bundle-display="total"></span>
  </div>
  <div data-next-bundle-card data-next-bundle-id="buy2"
       data-next-bundle-items='[{"packageId":1,"quantity":2}]'>
    2x — Save <span data-next-bundle-display="discountPercentage"></span>
    <span data-next-bundle-display="total"></span>
  </div>
  <div data-next-bundle-card data-next-bundle-id="buy3"
       data-next-bundle-items='[{"packageId":1,"quantity":3}]'>
    3x — <span data-next-bundle-display="total"></span>
  </div>
</div>
Add to Cart Button
<button data-next-action="add-to-cart"
        data-next-package-id="1"
        data-next-quantity="1"
        data-next-url="/checkout">
  Buy Now
</button>
Display Cart Total
<span data-next-display="cart.total">$0.00</span>Conditional Display
<div data-next-show="cart.hasItems">
  <button onclick="checkout()">Proceed to Checkout</button>
</div>
Verify the SDK Loaded
Open your browser console and run:
console.log(window.next ? 'SDK Loaded' : 'SDK Not Found');

if (window.next) {
  console.log('SDK Version:', next.version);
}
The SDK supports all modern browsers: Chrome, Firefox, Safari, and Edge.